
Introduction
A One-Page Site is a minimalist, contemporary, and easy-to-use method to present your content, product, or services. In contrast to conventional multi-page sites, a one-page website brings all vital information onto one page, thus making it simple and interactive to navigate through for visitors. Such a layout is perfect for businesses, personal websites, product introductions, and event sites where users require quick access to critical information without going through several pages.
One-page websites are also very effective in improving user engagement as they offer a simple and distraction-free experience. Rather than jumping from page to page, users merely scroll through sections in a coherent order. They also fare well on mobile platforms, where scrolling is a natural and intuitive gesture.
Developing a One-Page Site with WordPress is a great option since WordPress has flexibility, a large number of themes, and robust plugins that make the development and customization of websites easy. Whether you’re a beginner, an expert web developer, or a custom WordPress web designer in the UK, WordPress provides all the tools you need to design a professional-looking and visually stunning One-Page Site—without requiring any coding skills.

Also Read – WordPress Designer in UK
Step 1: Select a Domain and Hosting
You must first acquire a domain name and hosting service before making your website. These are the building blocks of your online presence since the domain is your site’s address, and the hosting offers the storage space and server power to enable your site to be accessed online.
Selecting a Domain Name
Your domain name is an integral part of your brand. It must be:
- Short and memorable: Do not use long or complex names.
- Relevant to your niche: If at all possible, incorporate keywords from your business or intent.
- Easy to spell and pronounce: This makes it easy for users to locate your site.
- Accessible in a generic extension:.com is the most popular, but.net,.org, or industry-specific extensions such as.design may also be usable.
You can test domain availability through tools such as Namecheap, GoDaddy, or Google Domains.
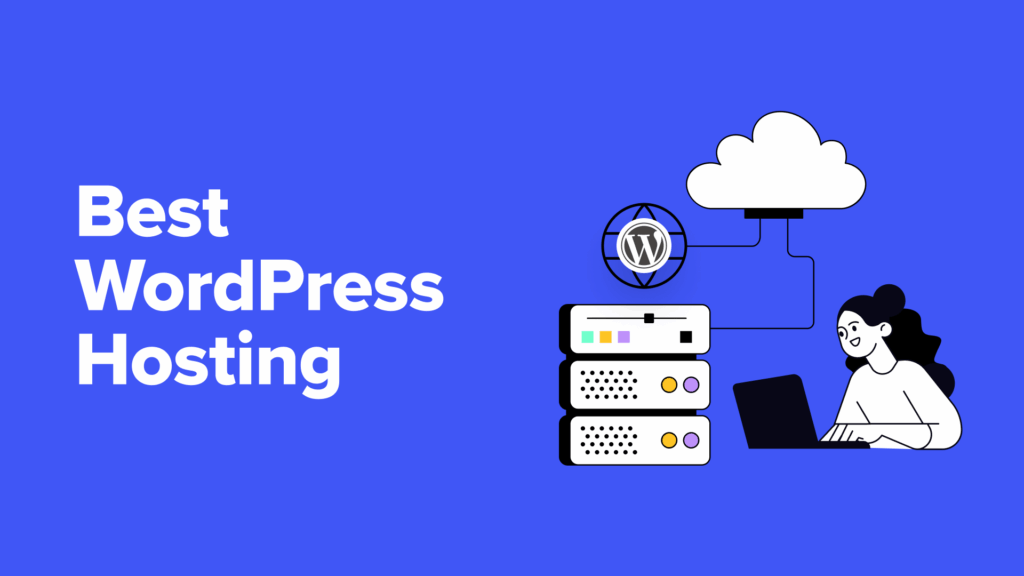
Selecting a Hosting Provider
Because WordPress is a content management system (CMS), you require a good hosting company to keep your website up and running. Some of the best WordPress hosting options are:
- Bluehost – Officially endorsed by WordPress, budget-friendly, and ideal for beginners.
- SiteGround – Excellent performance, security, and customer support.
- Hostinger – One of the cheapest hosting companies with excellent speed.
- Kinsta – High-speed managed WordPress hosting for a premium price.
- WP Engine – Best for companies requiring best-of-class WordPress performance and support.
Setting Up Your Hosting
After you’ve selected your hosting provider, follow these steps:
- Register or Connect Your Domain – Either buy a new domain or connect an existing one.
- Set Up Your Hosting Account – Most hosts offer a simple onboarding process to walk you through this step.
- Access Your Hosting Control Panel (cPanel) – This is where you’ll manage your website files, databases, and settings.
After your domain and hosting are set up, you’re ready to install WordPress and begin creating your one-page website.
Step 2: Install WordPress
WordPress is among the most popular CMS platforms globally, and many hosting providers offer one-click install options to make the setup easier.
Method 1: One-Click Installation (Best for Beginners)
Most web hosts, including Bluehost, SiteGround, and Hostinger, have an easy one-click WordPress installation process. Here are the steps:
- Log in to Your Hosting Account – Go to your hosting provider’s control panel.
- Find the WordPress Installer – In your control panel (cPanel or custom hosting dashboard), find a section named Website or Softaculous Apps Installer and choose WordPress.
- Choose Your Domain – Choose the domain on which you wish to install WordPress (if you have more than one domain).
- Fill in Basic Site Information – Enter a site name, username, password, and email for your WordPress admin panel.
- Start the Installation – Click the Install button, and the system will automatically set up WordPress for you.
- Access Your WordPress Dashboard – Once installed, you’ll receive a confirmation email with your login details.
Method 2: Manual Installation (For Advanced Users)
If your web host does not have a one-click setup, you can install WordPress manually by following these steps:
- Go to the official WordPress site and get the most recent version of the software
- Upload WordPress Files – Upload the extracted WordPress files to your website’s root folder (public_html) using an FTP client (such as FileZilla) or your hosting’s File Manager.
- Create a Database – In your host control panel, navigate to MySQL Databases, create a new database, and give it a username and password.
- Launch yourdomain.com in a browser to start the WordPress setup wizard automatically. Enter your database information and site data as prompted.
- Finish the Installation – Click Install WordPress, and when finished, log into your site with yourdomain.com/wp-admin/.
What to Do After Installing WordPress
After installation, follow these steps to get started with your site:
- Sign in to your WordPress dashboard by visiting yourdomain.com/wp-admin and entering your login details
- Set Up General Settings – Go to Settings > General to update your site title, tagline, and time zone.
- Change Permalinks – Go to Settings > Permalinks and choose Post Name for better SEO-friendly URLs.
- Delete Default Content – Uninstall the sample post, page, and comments that WordPress provides.
- Secure Your Website – Install security plugins such as Wordfence or Sucuri to secure your site from threats.
After installing and setting up WordPress, you can proceed to selecting a one-page theme and building your website.
Step 3: Select a One-Page Theme
Themes govern the look and appearance of your WordPress website. For a one-page website, try:
- Astra (Lightweight and responsive)
- OceanWP (Highly responsive and adaptable)
- Neve (Speedy and easy to use)
- Hestia (Specifically for single-page websites)
- GeneratePress (Clean and high-performance)
Installing a Theme
- Navigate to Appearance > Themes within your WordPress admin panel.
- Click Add New and type in your desired theme.
- Click Install and Activate.
Step 4: Install Essential Plugins
To increase the functionality of your One-Page Site, add the following plugins:
- Elementor – A page builder with a drag-and-drop feature for easy customization.
- Yoast SEO – Optimizes your site for search engines.
- WPForms – Supports contact form integration.
- Smush – Compresses images to load faster.
- MonsterInsights – Includes Google Analytics tracking on your site.
Installing Plugins
- Navigate to Plugins > Add New.
- Search for the plugin you require.
- Click Install and Activate.
Step 5: Design Your One-Page Layout
Now that your theme and plugins are up and running, it’s time to construct your page.
Creating Your One-Page Layout Using Elementor
- Navigate to Pages > Add New and title it (e.g., “Home”).
- Edit with Elementor to access the page builder.
- Add sections like:
- Hero Section (Headline, Call-to-Action button)
- About Section (Short introduction, mission statement)
- Services or Features (Emphasize what you do)
- Portfolio or Testimonials (Feature work or customer testimonials)
- Contact Section (Add a form and social links)
- Make fonts, colors, and images your brand.
- Save and preview your design before you publish.
Step 6: Add Smooth Scrolling and Navigation
As a one-page website is based on scrolling, you need to install a sticky navigation menu that points to various parts of your page.
Steps to Create a Sticky Navigation Menu
- Navigate to Appearance > Menus.
- Add a new menu and include custom links with section IDs (e.g., #about, #services).
- Save the menu and assign it to your main navigation.
- Activate smooth scrolling using a plugin like “Page Scroll to ID.”
- Test your navigation to guarantee smooth user experience.
Also Read – What is a one-page website?
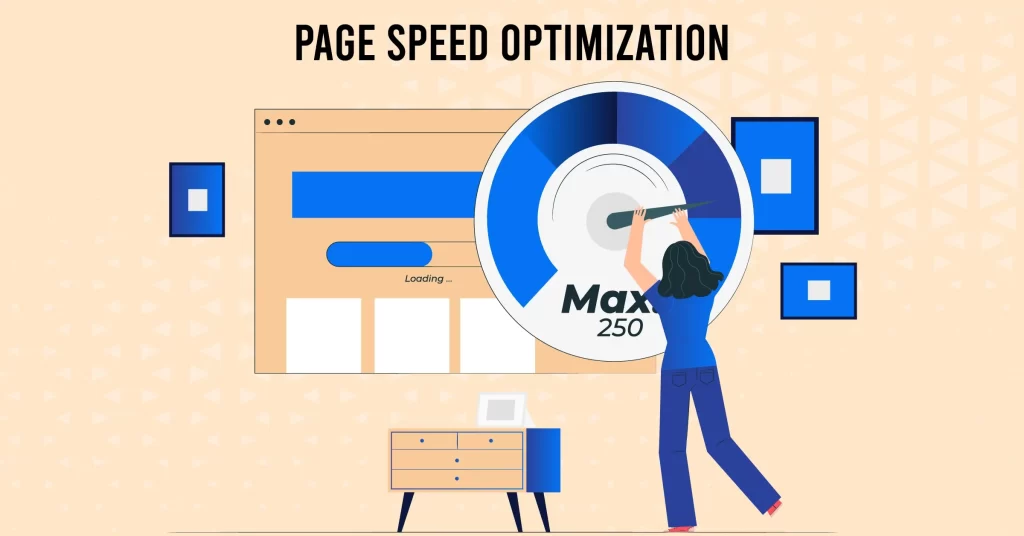
Step 7: Speed and SEO Optimization
A slow site can send visitors packing. Optimize your site with:
Speed Optimization
- Performance Optimization Tool (such as WP Rocket or W3 Total Cache)
- Image Optimization (Smush or TinyPNG usage)
- Minify JavaScript and CSS (Autoptimize plugin usage)
SEO Optimization
For SEO, use Yoast SEO to:
- Insert meta titles and descriptions.
- Insert relevant keywords in content.
- Optimize images with alt tags.
- Generate and submit a sitemap to Google.
Step 8: Test and Launch Your Website
Test your site before going live:
Final Testing Checklist
- Test responsiveness on mobile.
- Make sure all links and buttons are functional.
- Perform a speed test with GTmetrix or Google PageSpeed Insights
- Check SEO settings with Google Search Console.
When all looks well, navigate to Settings > Reading and select your homepage to the one-page layout you designed. Then, click Publish to launch your website!
Frequently Asked Questions (FAQ)
1. Is it possible to turn a multi-page website I already have into a One-Page Site?
Yes, it is. You should bring your content together in sections and navigate through anchor links. Plugins such as Elementor may be used to reorganize your content with ease.
2. Do I have to have coding skills in order to create a one-page WordPress site?
No, WordPress and page builders such as Elementor enable you to build a one-page website without code. But CSS basics will be of assistance in making customization.
3. How do I optimize my one-page website for speed?
Utilize a caching plugin, compress images, reduce JavaScript and CSS files, and select a speedy web host.
4. Can I include a blog on my one-page website?
Yes, you can have a standalone “Blog” section that links to individual blog entries while maintaining your homepage as a one-page design.
Conclusion
Building a one-page website with WordPress is an efficient way to create a visually appealing, easy-to-navigate site that enhances user experience. By following this guide, you’ve successfully set up a domain, installed WordPress, chosen a theme, added essential plugins, designed an engaging layout, optimized performance, and finally launched your site.
Whether you’re a small business owner or a WordPress web designer and developer in the UK, a well-structured one-page website helps keep visitors focused and engaged without unnecessary clicks. It’s ideal for portfolios, startups, and event pages. However, regular updates and performance monitoring are essential for long-term success.
Next Steps
- Make extra features with WordPress plugins.
- Publicize your website on social networks and through search engine optimization strategies.
- Track statistics and enhance content based on the insights of the visitors.
- Monitor visitor behavior with Google Analytics and adjust accordingly.
- Continuously improve page speed for the best user experience.
- Promote your site through social media, email marketing, and SEO.
So, go and share your stunning One-Page Site with the rest of the world!