
Taking a Screenshots on Windows 10 is pretty simple, but it’s important to learn how to do it. After taking a screenshot in windows 10, either you wish to share a screenshot with family or a question comes to your mind like how do I send a screenshot to someone or email for official use. Luckily,
I am here to help. And, if you’re using an older version of Windows or Windows 11, don’t worry screenshot share can also be achieved with a single click.
Learning out how to screenshot on Windows 10 is not nearly as difficult as it sounds. The quickest and easiest way to take a screenshot is by clicking the Print Screen or PRT SCR key available on your keyboard.
I’ll show you some alternative ways of taking a screenshot in this tutorial as well. I’ll also teach you how to take a screenshot of a specific window instead of the complete screen in this tutorial as well. And finally, you will learn Screenshot sharing options.
As Windows Development Company, we also provide Windows App Development services, please check them out as well.
Taking screenshots on windows 10 is very simple as compared to Apple’s Mac Operating system.
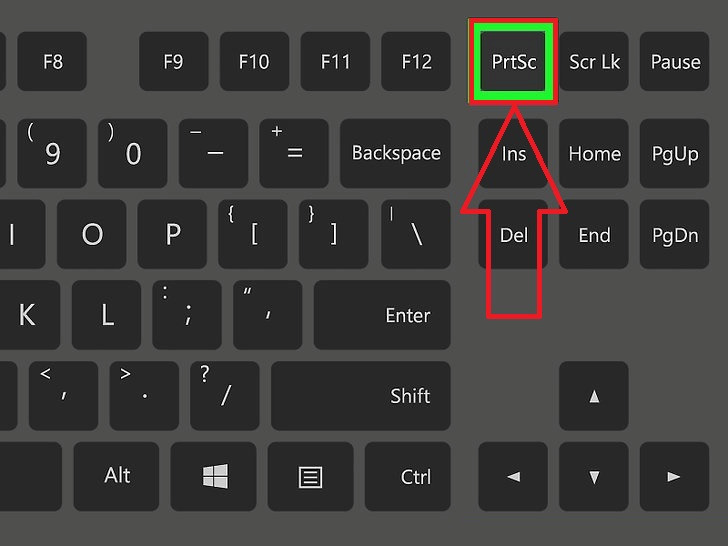
First, identify your Print Screen key
Every keyboard should have a Print Screen key, and it’s easy to locate. The screenshots key is usually located top right corner of your keyboard, with the text “Print Screen” or “PRT SCR” on it.
In few keyboards, another shorthand word is written, like “PrtSc” or it may be the secondary function of a key, in that case, you’ll need to use the “Fn” key located at the bottom left side of your keyboard.
After locating your Print Screen key and whether you need to press the “Fn” key to use it, you are ready to take a fresh screenshot.
How to screenshot on Windows with Print Screen Button
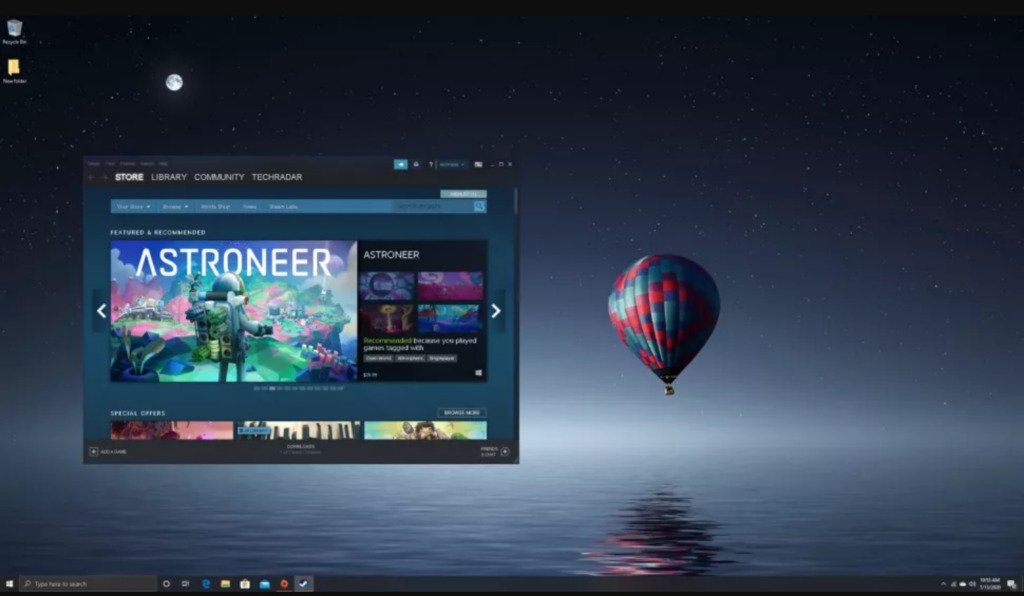
Using Print Screen or part SCR key on your keyboard, you can either take a screenshot of your full screen or capture screenshot of an active window available on screen.

(Image credit: Microsoft / Steam)
- Taking a screenshot of the entire or full screen: Just Press the Print Screen or prt scr key. This will immediately take a screenshot of your whole screen display. The taken screenshot is added to your clipboard, allowing you to pick or paste it elsewhere, and automatically saved to your Screenshots folder for later use.
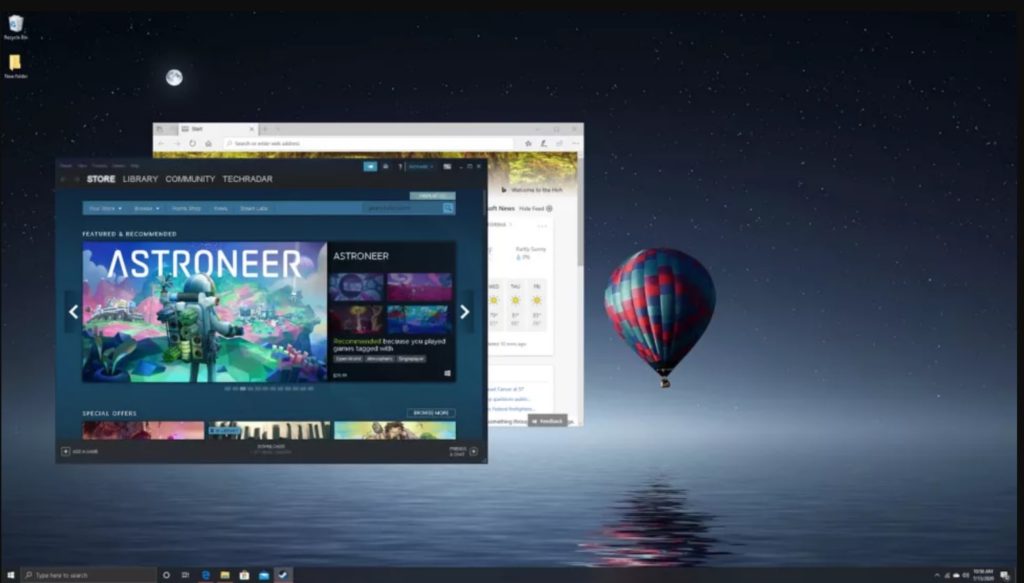
Taking a screenshot of current or active window
To capture screenshot of active window in windows 10, press Alt + Print Screen keys together. This will take a screenshot of just the active window so, if you’ve got several windows open, you must be sure to select the specific window you wish to capture to make it active or bring on front.
Just as full screen screenshot newly capture screenshot is added to your windows clipboard for copy/paste as well as automatically saved to your Screenshots folder for later use.
Paste the capture screenshot wherever you want
As explained above: you take a screenshot, that screenshot is added to your clipboard window, permitting you to quickly paste it into some any other applications you use.
You can paste it into an image editor, windows paint, photoshop, Skype, WhatsApp chat as well. Or, you can share it with a friend or family by pasting the image into email client.
However, Let me teach you more advanced ways to screen capture on PC.
How to capture portions of your screen
In case of taking some precise screenshots, Windows 10 has a couple of tools available that can help you. Microsoft has introduced a tool called Snip & Sketch note incoming windows version it won’t be available to install separately but it will come as a built-in tool,
It’s a replacement of classic Snipping Tool, and it allows you to take screenshots in various different ways, as well as edit and add text on capture screenshot and share those screenshots.
Snip & Sketch tool gives you the option to take screenshots now or quickly. Also, it will allow you to crop, edit, and annotate existing or newly taken screenshots.
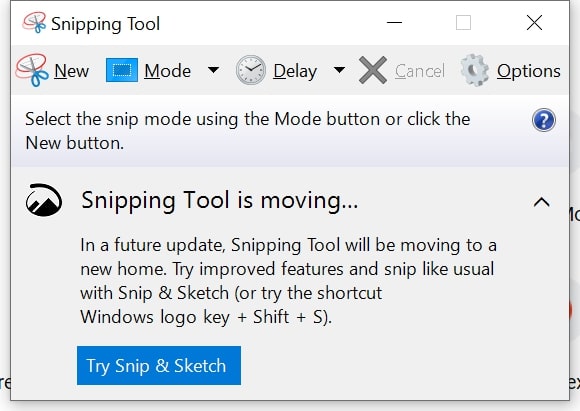
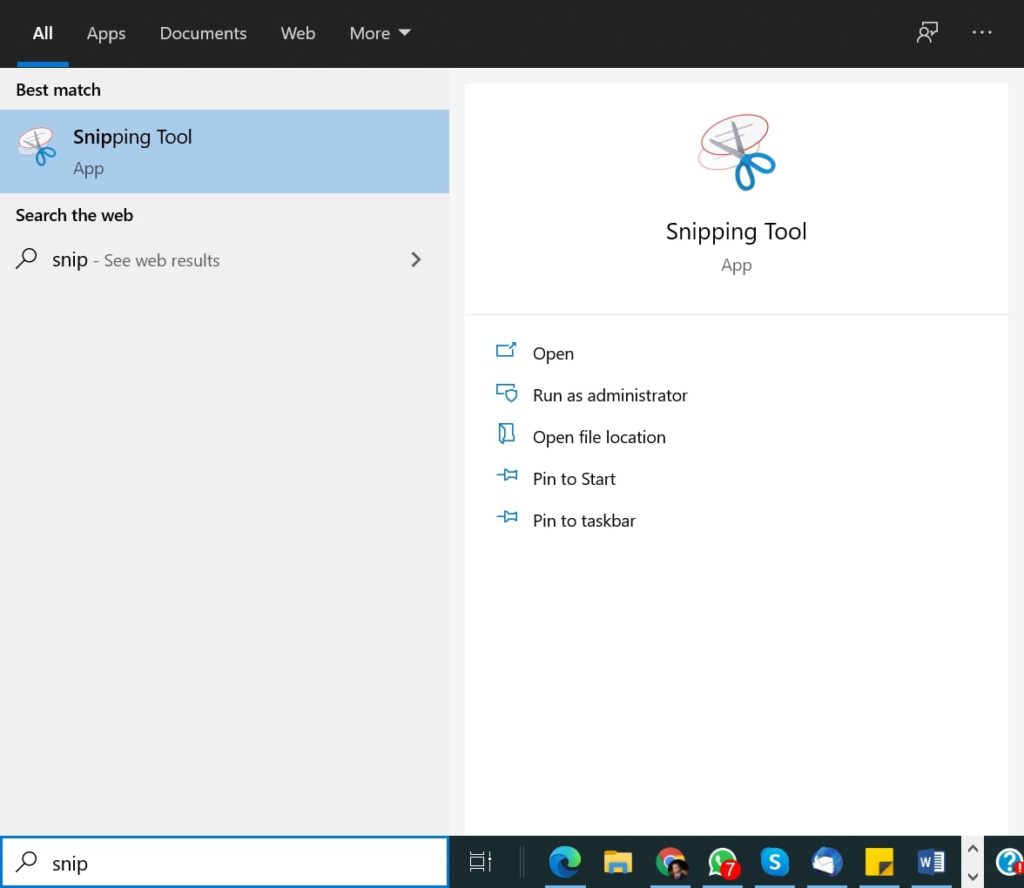
How to use Snip & Sketch app? Just type “Snip & Sketch” into the Windows 10 search bar located at the bottom-left corner to find the app and launch it. Older version of snipping tools can be seen in the image below:
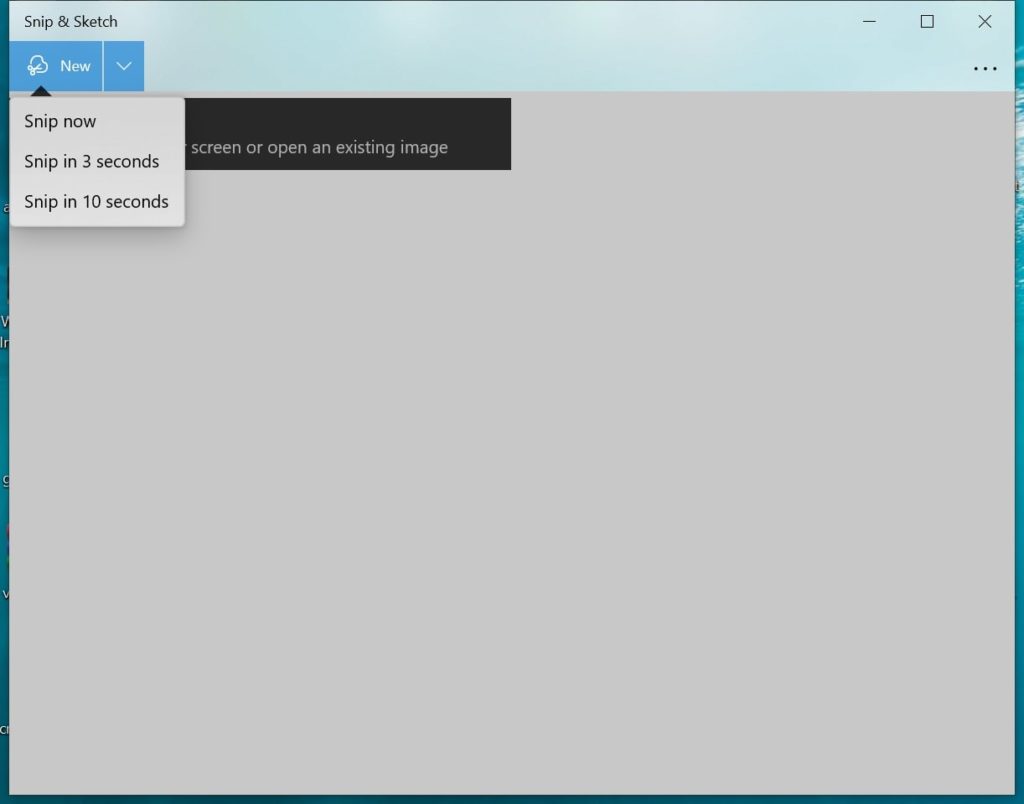
New version of snip & Sketch app can be seen in the image below:
1. Taking a screenshot of a specific area in Windows
To take a screenshot of a specific section or window, just hit “New” and select when you’d like to take the screenshot. If you select “Snip now,” your screen should become darken and your mouse cursor becomes a crosshair shape.
Just position your mouse to the corner of the area you’d like to capture, click it, hold and drag the area you want to select then let go.
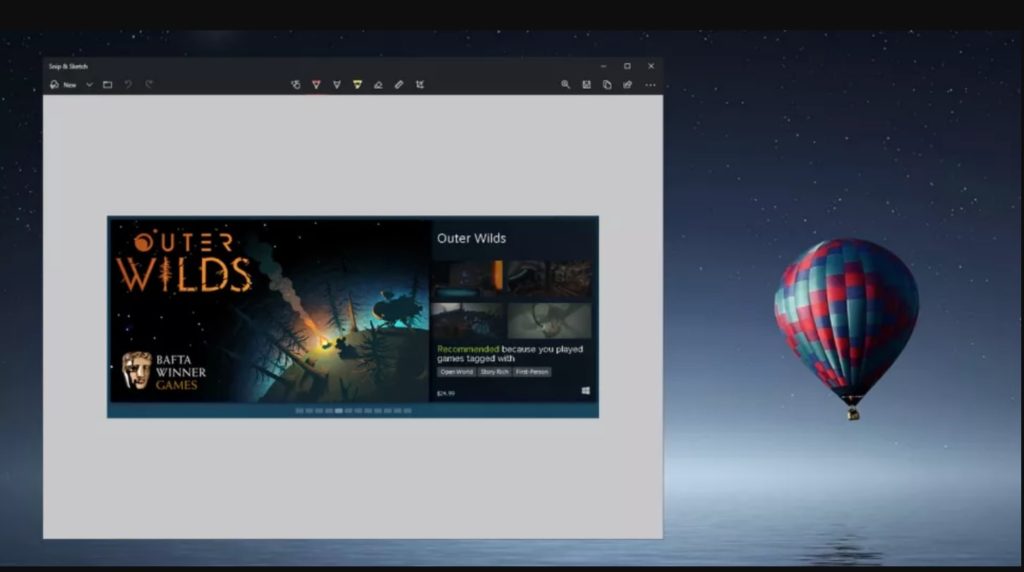
As the screenshot technique we went over, this method captures the screenshot and adds it to your clipboard automatically. Snip & Sketch will also immediately display your new screenshot inside the app as per the above screenshot. Now, you can either edit your new screenshot, annotate or share it with friends and family.
2. Taking a screenshot freeform
Snip & Sketch app also offers freeform capture space. To achieve this: click “New” and choose the Freeform option from the buttons at the top of the capture screen tool.
Same as the previous step, simply position your mouse to the corner of the area you’d like to capture, click it hold and drag until the area is selected then let it go.
This method automatically adds screenshots to the clipboard and displays it inside the Snip & Sketch app.

3. Taking a screenshot of a Window
The Snip & Sketch app quickly take a screenshot of non-active objects as well. To do this, click “New” and select the Windows Snip option from the toolbar at the top of this app. If you have multiple windows open, just highlight the window you’d like to capture with your mouse pointer and hit mouse click.

Make sure that in case of stacked or cascading windows you can still highlight and select a window behind the first one to make a screenshot. Just as mac windows 10 also don’t take a screenshot of it. Instead of that, it also captures the portion of the active window that’s obstructing it, and results a funky-looking screen capture.
Warning: Make sure you take screenshot of the unobstructed object.
4. Snip & Sketch shortcut
Snip & Sketch app shortcut for Windows 10 (Creators Update and later) use the windows screenshot shortcut with these key combos: Shift + Windows Key + S to jump right into capture mode.
Note: sometimes it is reported that snip and sketch tool don’t work with shortcut keys, just uninstall the app by going into windows settings and reinstall it again.
Conclusion:
In this guide we covered this topic: how to screenshot on windows desktop and snipping tool windows 10. We hope this article was helpful for you, please do share it with others.
Now, you might have seen people asking or searching on Google for how to:
- share a screenshot?
- upload a screenshot?
- send a screen shot?
- post a screenshot?
- send a screenshot on pc?
- make a screenshot into a link?
- send a screenshot on computer?
- upload print screen
Answer is pretty simple:
iOS:
- Open your phone’s Photos app.
- Tap Media Types, then Screenshots. To share a screenshot, tap Share. To edit a screenshot, tap Edit.
Android:
To take a screenshot using Android phone and send it via e-mail, please follow these steps: Hold down the power and volume-down buttons for a couple of seconds to capture screenshot in android. To send the screenshot file right after taking the screenshot, pull down the notification panel from top to bottom. Click on “Share” to send it via e-mail.
Windows: Locate screenshot => open it => click Share icon located on top right corner.
Want to develop a windows software for yourself? As Windows Development Company, we also provide Windows App Development services, please check them out as well.
Have some time? Visit our website or LinkedIn page to know more.